Sonder Music: Piano Lessons in Norman, OK
  • Home
  • Piano Lessons
  • Pre-K Piano Lessons
  • Bio
  • Blog
  • Contact

How To Make Your Own Velcro Staff

8/11/2015

2 Comments

 
A couple years ago, I made my own Velcro staff to use with my students. It's come in handy for many activities, from identifying landmark notes to melodic transcription. It is sturdy, lightweight, and sits easily on my upright piano's music stand. I've posted instructions below on how to make your own. If you do, please let me know how it turns out!
DIY Velcro Staff
Add Velcro adhesive to music symbols, seasonal stickers, felt or foam dots... the possibilities are endless!
You'll Need:
  • One piece of 20x30" black foam board; it should be 3/16" thick, and ideally have faint gray grid lines
  • 35' of 1 1/4" white adhesive Velcro tape (I used 7 packages of Velcro Removable Hanging Strip; each package comes with a 5' x 1 1/4" removable adhesive Velcro hanging strip and twelve adhesive 7/8" Velcro circles)
  • One 20x30" poster frame
  • Music symbols printed to size (I used Trend Brand Music Symbols Classic Accents® Variety Pack)
Directions:
  1. Cut fourteen 30" x 1 1/4" strips of adhesive Velcro tape. If you use the 5' Velcro Removable Hanging Strips, you can simply cut them each in half.
  2. Adhere the first strip to the top of the foam board, making it completely flush with the long, 30" edge. Leave a 1/4" gap before placing the second strip below. This gap forms the first staff line. It is very important that each staff line have an exactly 1/4" gap. Continue adding strips until the top staff complete. Create the middle of the grand staff by placing four strips flush against each other. Create the bottom staff by leaving gaps again for the remaining 5 lines. If you've measured your gaps correctly, the final strip will end up flush with the bottom of the foam board. The nice thing about the Velcro Removable Hanging Strips is that they are repositionable, so if one isn't lined up quite right, you can just remove and reposition it. Faint gray grid lines on the black foam board help too. You could also draw lines with pencil if your foam board doesn't come with grid lines. 
  3. Once all your strips are placed, take the four plastic frame edges off of a 20x30" poster frame and slide them over the edges of your foam board. This gives the board stability and keeps the adhesive strip edges from peeling off.
  4. The Trend Brand music symbols (pictured above) fit perfectly on this staff. The only exception is that the treble and bass clefs are a bit too small, as you can see. However, you can always draw larger ones, and/or download and print larger clef images. I haven't had a chance to make this "upgrade" yet! I did laminate the music symbols to give them durability. Then I placed the adhesive Velcro circles that came with the Hanging Strips on the back of the laminated music symbols, as well as on stickers (with the peel still on) and felt dots (with cardboard backing). 
  5. It's easy to make bar lines and ledger lines by cutting thin strips of basic black Velcro, available in the hardware section of many stores.

2 Comments

The Grasshopper and the Cricket

6/19/2015

0 Comments

 
My student really enjoyed this piece from Tales of a Musical Journey Book 2, called The Grasshopper. I added a simple treble duet with quirky grace notes, which she thought sounded like a cricket. Fun for both of us :-)
0 Comments

Feeling Volume Changes

4/29/2015

0 Comments

 
Picture
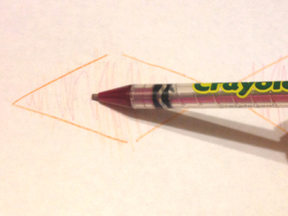
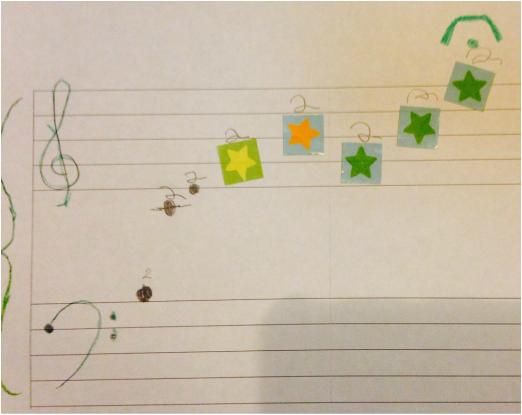
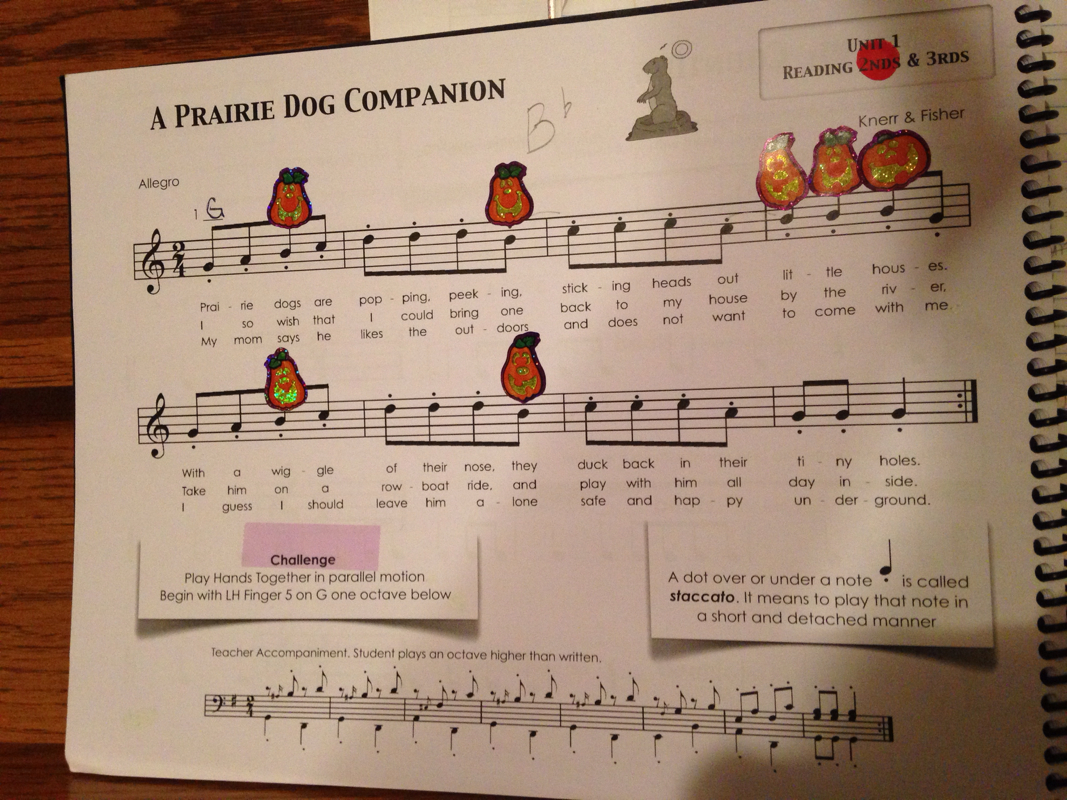
It can be a big challenge for a young beginner to connect with music notation. There are so many elements: pitch, rhythm, tempo, fingering, dynamics... Students often accidentally leave out dynamics when first playing through a piece. Sometimes the best thing to do is to help them feel the dynamics away from the page. Here's an exercise I recently used: I drew a "dynamics map" of the student's piece using the signs for crescendo and diminuendo. We listened to a recording of their piece and shaded in the dynamics shapes as the music played--making bigger crayon strokes as it got louder and smaller strokes as it got softer. It's great that the shapes we used were actual music notation symbols, but it would work well whether students had already learned these symbols or not!

0 Comments

Star Bright

4/19/2015

0 Comments

 
The student composition below was inspired by a piece called Starry Night from 70 Keyboard Adventures of the Little Monster (Volume 2). The dark notes are fixed pitches, the stars indefinite pitches. The student called it, "Star Bright. "
Picture
0 Comments

The Magical Forest

3/31/2015

0 Comments

 
This student's composition, an assignment from his book Tales of a Musical Journey by Irina Gorin,  had some mixed meter patterns and I thought it would be cool to harmonize it. He really enjoyed the sound and called it, "The Magical Forest."
0 Comments

Improvisation

3/19/2015

0 Comments

 
A little improvisation:
0 Comments

Rhythm Dominoes

1/30/2015

1 Comment

 
Picture
I made these rhythm dominoes yesterday from blank wooden tiles. Kids loves games and I love their excitement when they hear we're going to play a game! But sometimes games are rather abstract. For example, a traditional dominoes game will help them review equivalencies, but doesn't involve any music making. So, a variation is to lay the tiles out on the music stand. Have the student sort the rhythms into groups (four beats, three beats, two beats, one beat). Then play (or speak or clap) the complete rhythm created for each group (all in a line). Do they like the rhythm? Do they want to rearrange or remove tiles? How about putting the long note at the end to make it sound final?

This activity still reviews equivalencies but also engages the student musically and creatively.

Unfortunately, the blank wooden tiles I originally purchased have been out of stock for quite a while, however, I have seen a similar product on Etsy.


1 Comment

Farewell Symphony

10/31/2014

0 Comments

 
Picture

A student's drawing inspired by Haydn's Farewell Symphony. Notice the empty chairs and musicians walking away!

0 Comments
<<Previous

    Lauren's Blog

    Thoughts on Piano Teaching

    Lauren Sonder
    Lauren Sonder is a piano teacher in Norman, OK.
    She believes in providing a well rounded musical education that emphasizes training the ear, learning music in a variety of styles, and being creatively engaged at the piano.

    Blog  Categories

    All
    Beginner
    Composition
    Creativity
    DIY
    Duets
    Games
    Group Lessons
    Improvisation
    Intermediate
    Lead Sheet
    Learning Aids
    Listening
    Living Composers
    Masterclass
    Method Books
    Mixed Meter
    Music Appreciation
    Music History
    Piano Posture
    Practicing
    Reading
    Rhythm
    Rote
    Technique
    Technology
    Transcription
    Yoyo

    Archives

    March 2020
    July 2019
    March 2017
    August 2015
    June 2015
    May 2015
    April 2015
    March 2015
    January 2015
    December 2014
    October 2014
    September 2014

    RSS Feed

Embark on a journey of learning and discovery with piano lessons!


Sonder Music Piano Studio / Norman, OK 73069
(405) 474-9734 / info@sondermusic.com
© 2014-2021 Sondermusic, LLC